Introduction
Over the last decade, website development has significantly evolved. We now have access to new tech stacks with modern application architecture. One of them is a MERN stack.
MERN stands for MongoDB, Express, React, and Node.js.
- MongoDB is a NoSQL database.
- Express is a Node.js framework to develop the backend of websites.
- React is a JavaScript library to build a front-end user interface.
- Node.js enables us to execute JavaScript code on the server.
Since its inception, the MERN stack has ignited excitement among the developer community. That’s why many existing companies and new startups are adopting it for their projects.
In turn, it creates new opportunities for developers. I would recommend using the Haystack app to find those opportunities. Basically, it connects employers with job seekers, especially the techies.
For example, let’s say you’re looking for a React App development job. Simply create an account with them for free and the app will intelligently match you with relevant job opportunities.
As now you’re a bit familiar with its scope and earning potential. Let’s create a simple web app using MERN stack.
Create the Backend
At first, create a root folder that will hold the project files.
mkdir mern_stack_app
Now, move inside that folder.
cd mern_stack_app
Initialize npm to automatically generate a package.json file.
npm init -y
At this point, we need to install some dependencies for the backend.
npm install express mongoose cors
I would even recommend you to install nodemon to automatically restart the server whenever the source code is modified.
npm install -g nodemon
Let’s create an index.js file in the mern_stack_app folder and start writing some code. Basically, this code-snippet is used to setup a Node.js/Express server.
const express = require("express");
const app = express();
const cors = require("cors");
const PORT = 4000;
app.use(cors());
app.listen(PORT, function() {
  console.log("Server is running on Port: " + PORT);
});
Download and Install MongoDB
- At first, go to https://www.mongodb.com/download-center/community?jmp=docs. Then, select the desired version and your OS. Finally, select the MSI file.
- Click the download button.
- When the .msi file is downloaded, simply run it.
- Follow the step by step wizard to complete the installation.
- Now you need to create a folder on your computer to store the database. Mostly, on the local machine, we use the C drive. So, let’s create a new folder in the C drive and name it “data”. Move inside that folder and create a sub-folder. This time name it “db”. This is where the actual database will be stored.
Run MongoDB
- Go to “C:\Program Files\MongoDB\Server\4.2\bin\”
- Open a terminal and type the following command.
mongod;
MongoDB will start on PORT 27017.
To start the mongo shell. Open another terminal (Do not close the terminal where mongod is running).
Again go to “C:Program FilesMongoDBServer4.2bin\” and type the following command.
mongo;
This command will run the mongo shell.
Inserting data
Let’s create a database and insert data in it.
Type the following command to create a database.
use details
Let’s insert a few documents in it.
", "age" :29},{"name": "Mike", "age" :23}])
{
        "acknowledged" : true,
        "insertedIds" : [
                ObjectId("5da3267ed1ee0751c51aa0e4"),
                ObjectId("5da3267ed1ee0751c51aa0e5"),
                ObjectId("5da3267ed1ee0751c51aa0e6"),
                ObjectId("5da3267ed1ee0751c51aa0e7"),
                ObjectId("5da3267ed1ee0751c51aa0e8")
        ]
}
We created a collection named “details”, and inserted five documents in it. Let’s check.
db.details.find()
{ "_id" : ObjectId("5da3267ed1ee0751c51aa0e4"), "name" : "John", "age" : 21 }
{ "_id" : ObjectId("5da3267ed1ee0751c51aa0e5"), "name" : "Max", "age" : 32 }
{ "_id" : ObjectId("5da3267ed1ee0751c51aa0e6"), "name" : "Lisa", "age" : 25 }
{ "_id" : ObjectId("5da3267ed1ee0751c51aa0e7"), "name" : "Sam", "age" : 29 }
{ "_id" : ObjectId("5da3267ed1ee0751c51aa0e8"), "name" : "Mike", "age" : 23 }
Connecting to MongoDB using Mongoose
Earlier, we installed mongoose. Let’s use mongoose to connect the server to MongoDB.
First, we need to import mongoose in our file.
const mongoose = require("mongoose");Then, connect mongoose to the database using the connect() function.
mongoose.connect("mongodb://127.0.0.1:27017/details", {
  useNewUrlParser: true
});

const connection = mongoose.connection;
At last, we use the following function to tell us that the connection was successful.
connection.once("open", function() {
  console.log("Connection with MongoDB was successful");
});
This is how the index.js file looks now.
const express = require("express");
const app = express();
const cors = require("cors");
const PORT = 4000;
const mongoose = require("mongoose");
app.use(cors());

mongoose.connect("mongodb://127.0.0.1:27017/details", {
  useNewUrlParser: true
});

const connection = mongoose.connection;

connection.once("open", function() {
  console.log("Connection with MongoDB was successful");
});

app.listen(PORT, function() {
  console.log("Server is running on Port: " + PORT);
});
Creating a schema
Next step is to create a schema.
In the same folder where index.js file is, create a new file “model.js” add the following code in it.
const mongoose = require("mongoose");
const Schema = mongoose.Schema;

let detail = new Schema({
  name: {
    type: String
  },
  age: {
    type: Number
  }
});

module.exports = mongoose.model("detail", detail);
The model is ready and we need to import it in the index.js file. Add the following code in index.js file to do so.
let detail = require("./model");Implementing endpoints
The server is ready and connection with MongoDB is established. Now we will implement the endpoint. As we discussed in the previous part, we will fetch the data from MongoDB. To fetch data, we have to use GET. Let’s create a route handler for it.
But first, we need a router for it. Add the following line before the connection part.
const router = express.Router();
And add this line above app.listen() function.
app.use("/", router);Now the router part is complete. Let’s create the handler.
router.route("/getData").get(function(req, res) {
  detail.find({}, function(err, result) {
    if (err) {
      res.send(err);
    } else {
      res.send(result);
    }
  });
});
In this route handler, we used the find() method to retrieve all the documents from the details collection. The endpoint here is “/getData”. To check the endpoint, we will use the postman tool. You can download this tool from www.getpostman.com.
Design the Frontend
The backend is ready, let’s build the frontend.
Understanding the frontend
So before we start writing code for the frontend part, we need to understand, what we are going to build. Our frontend part will contain a button. When clicked on this button, data the details collection will de display below it. We will display the name and age from every document of the collection.
Creating the react application.
Go to the directory that contains the backend folder. In the same directory, run the following command in a terminal.
npx create-react-app frontend
Here, “frontend” is the name of the folder that contains the default react project template and the dependencies are also installed with it. Go to this folder and type the following command to run the react application.
npm start
Adding bootstrap
Well, we are not building an application with many stylings, but still, we will use bootstrap in it. To install the bootstrap, use the following command.
npm install bootstrap
In the frontend folder, open the src folder. Then, open the App.js file. We need to import bootstrap here.
import "bootstrap/dist/css/bootstrap.min.css";
Moreover, remove all the default code present in the App class.
Adding component
We will have one component in our application, that will contain the button. In the src folder, create a new directory and name it “components”. Go to this folder and create a new file. Name it “details”.
Add the following code in it.
import React, { Component } from "react";

export default class Details extends Component {
  render() {
    return (
      <div className="container-fluid" style={{ marginTop: "30px" }}>
        <div className="row">
          <div className="col-xs-12″ style={{ textAlign: "center" }}>
            <button
              className="btn btn-primary"
              style={{ position: "absolute", marginLeft: "50%" }}
            >
              Click
            </button>
          </div>
        </div>
      </div>
    );
  }
}
Now, open the app.js file and import this component in it. And then use this component in the App function. This is how the app.js file will look.
import React from "react";
import "./App.css";
import "bootstrap/dist/css/bootstrap.min.css";
import Details from "./components/details";

function App() {
  return <Details />;
}

export default App;
Connect Backend With Frontend
Frontend and backend are ready. Let’s connect them.
Installing and using Axios
To connect both of them, we need the Axios library. Run the following command to install the Axios.
npm install axios
Then, import Axios in the details.js file.
import axios from "axios";
Completing the frontend
We will use the Axios to fetch data from the backend. We will use axios.get method. But first, we need to define a state in the constructor.
this.state = {
  data: [],
  buttonClicked: false
};
data: This will hold the details fetched from the backend. buttonClicked: This will be used to display data when the button is clicked.
This is axios is used.
axios.get("http://localhost:4000/getData").then(res => {
  this.setState({
    data: res.data
  });
});
We used the same endpoint that we defined while creating the backend. When we get the response from the backend, we have to store the data in a state. We will store the data in this.state.data.
To make this work properly, we will add this code in a lifecycle method known as componentDidMount(). This method executes before the first rendering.
componentDidMount(){
        axios.get('http://localhost:4000/getData')
        .then((res) =>{
         this.setState({
             data: res.data
         })
        });
    }
Display data
Now, we have all the data. We just need to display it. Remember, the data returned is an array of objects. We have to iterate through it. We will display the data in the following way.
        this.state.data.map((data)=>{
            return(
            <React.Fragment>
                <p> <b>name</b> : {data.name}</p>
                <p><b>age</b> : {data.age}</p>
                <hr/>
            </React.Fragment>
        )
Observe the code. We will iterate through this.state.data using the map method. Now we have to put this inside a condition. This code will only get executed when the button is clicked. And for this, we have this.state.buttonClicked.
getDetails(){
        if(!this.state.buttonClicked){
        this.setState({
            buttonClicked: true
        })
    }
    }
This function will be executed when the button is clicked. It will change the value of this.state.buttonClicked to true and then data will get displayed on the screen.
Let’s add everything to the details.js file.
import React, { Component } from "react";
import axios from "axios";

export default class Details extends Component {
  constructor() {
    super();
    this.state = {
      data: [],
      buttonClicked: false
    };
    this.getDetails = this.getDetails.bind(this);
  }

  componentDidMount() {
    axios.get("http://localhost:4000/getData").then(res => {
      this.setState({
        data: res.data
      });
    });
  }

  getDetails() {
    if (!this.state.buttonClicked) {
      this.setState({
        buttonClicked: true
      });
    }
  }

  render() {
    return (
      <div className="container-fluid" style={{ marginTop: "30px" }}>
        <div className="row">
          <div className="col-xs-12″ style={{ textAlign: "center" }}>
            <button
              className="btn btn-primary"
              style={{ position: "absolute", marginLeft: "50%" }}
              onClick={this.getDetails}
            >
              Click
            </button>
            <div
              className="container-fluid"
              style={{
                position: "absolute",
                textAlign: "center",
                marginTop: "50px"
              }}
            >
              {this.state.buttonClicked
                ? this.state.data.map(data => {
                    return (
                      <React.Fragment>
                        <p>
                          {" "}
                          <b>name</b> : {data.name}
                        </p>
                        <p>
                          <b>age</b> : {data.age}
                        </p>
                        <hr />
                      </React.Fragment>
                    );
                  })
                : null}
            </div>
          </div>
        </div>
      </div>
    );
  }
}
This is how details.js file looks now.
Run the application
The frontend is ready, the backend is ready, and both are connected. Let’s see how it looks in the browser.
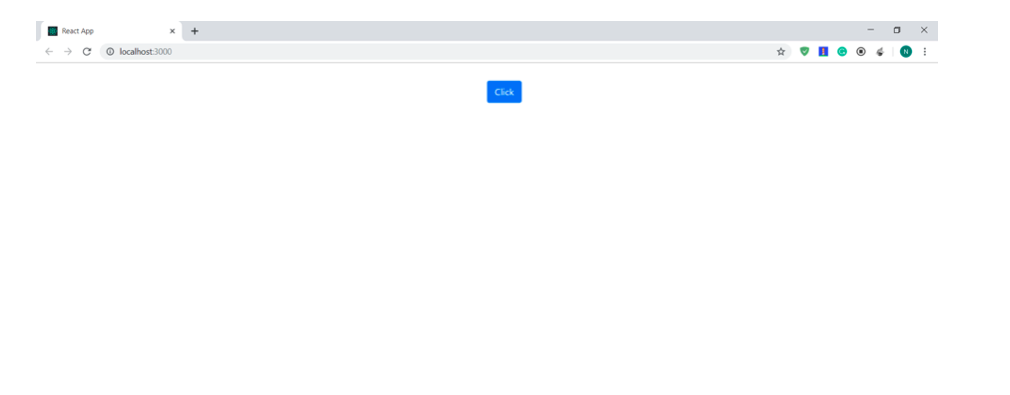
Let’s click on the button.
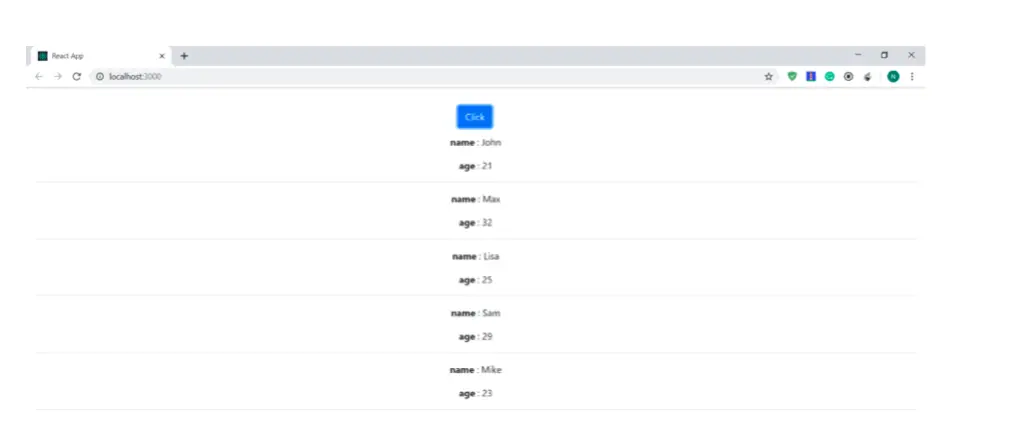
Everything works great!
Conclusion
So we created a simple web application using the MERN stack. First, we created the backend using Node.js, mongoose, and MongoDB. Then, we created the frontend using React. Finally, we connected both of them using the Axios library.
Code is missing for step “Let’s insert a few documents in it.”