
In this tutorial, I will teach you how to deploy an app that is built using React, Node.js, and Express to Heroku.
Let’s get started by creating two folders “client” and “server” on your PC. For the sake of this tutorial, we will use these folders to separate our client and server-based code respectively.
Inside the client folder, create a new React.js app by executing the following command.
npx create sampleapp
Here sampleapp is the name of the app that we are creating. Now, move inside that folder using the below command.
cd sampleapp
Now it’s time to build this app using the following code.
npm run build
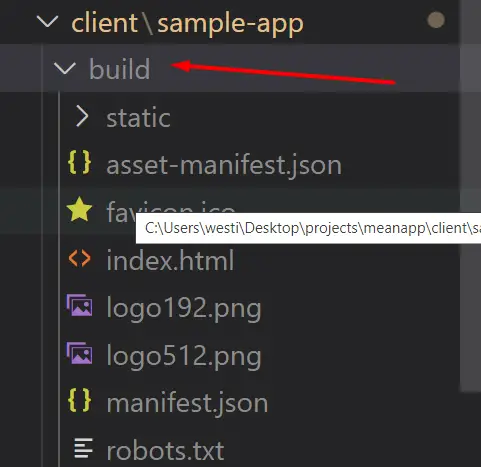
Basically, the above command will build out the React.js app and create the build folder as shown below.
Now go to the “server” folder and create a new Node.js and Express app by executing the below commands.
npm init -y
npm i express
After that, create an index.js file and copy/paste the following code into it.
index.js
const express = require('express')
const path = require('path')
const app = express()
const PORT = process.env.PORT || 3000
app.use(express.static(path.join(__dirname + "public")))
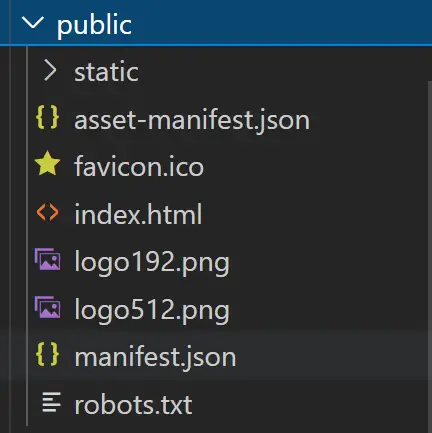
app.listen(PORT)And now in this code, we are setting the public directory as the static one to serve files when the user hit the request at the home route. For this, we need to create the public folder inside the root directory.
Now copy all the files which are present inside the build folder and paste them inside public folder of the “server” directory.
Now make a .gitignore file and copy/paste the below line into it.
/node_modules
Finally, it’s time to push our code to Heroku. Go ahead by executing the below commands.
heroku login
heroku create sampleapp
git init
git add .
git commit -m "first commit"
git push heroku master