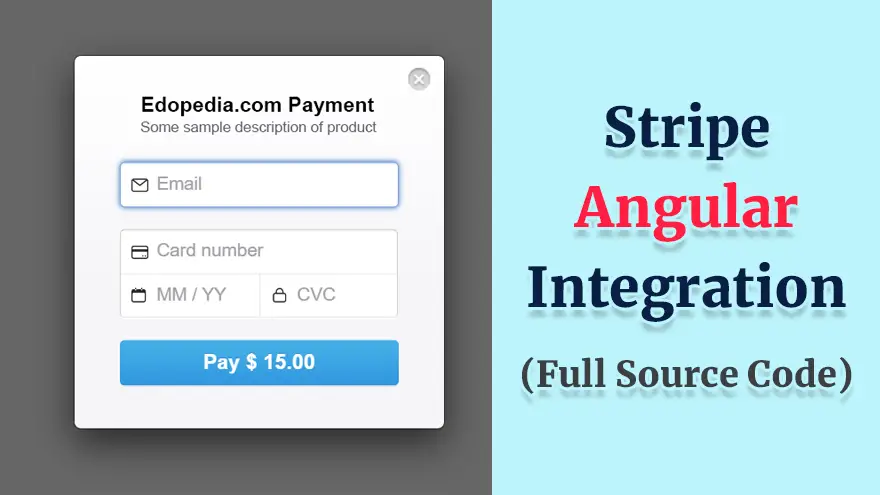
In this tutorial, you will learn about Stripe Angular integration. Basically, we will integrate the Stripe payment gateway inside a project that is built using Angular 13, Node.js, Express, and TypeScript.
I have provided the complete source code of the Stripe Angular integration example in this article.
We start this project by creating a new Angular app inside the folder named “client”.
mkdir client
cd client
ng new sampletestapp
Now open app.module.ts file and copy/paste the following code to import the httpclient module.
import { NgModule } from '@angular/core';
import { BrowserModule } from '@angular/platform-browser';
import { AppComponent } from './app.component';
import { HttpClientModule } from '@angular/common/http';


@NgModule({
  declarations: [AppComponent],
  imports: [
    BrowserModule,
    HttpClientModule
  ],
  providers: [],
  bootstrap: [AppComponent],
})
export class AppModule {}
Its time to design an HTML template for our Stripe Angular integration example app. So, open the app.component.html file and copy/paste the following code into it.
<h2>Angular Stripe Checkout Example</h2>

<button (click)="makePayment(15)">Pay With Stripe</button>

<div *ngIf="success">
  <h1>Your Payment is complete successfully</h1>
</div>
<div *ngIf="failure">
    <h1>Some Error is taken place inside the payment</h1>
</div
Here’s a screenshot of how the template looks.
Now open the app.component.ts file and copy/paste the following code into it.
Important Note: On line # 24, replace ###yourkey### text with your actual Stripe API key.
import { Component } from '@angular/core';
import { CheckoutService } from './services/checkout.service';

@Component({
  selector: 'app-root',
  templateUrl: './app.component.html',
  styleUrls: ['./app.component.css'],
})
export class AppComponent {
  paymentHandler: any = null;

  success: boolean = false

  failure:boolean = false

  constructor(private checkout: CheckoutService) {}

  ngOnInit() {
    this.invokeStripe();
  }

  makePayment(amount: number) {
    const paymentHandler = (<any>window).StripeCheckout.configure({
      key: '###yourkey###',
      locale: 'auto',
      token: function (stripeToken: any) {
        console.log(stripeToken);
        paymentstripe(stripeToken);
      },
    });

    const paymentstripe = (stripeToken: any) => {
      this.checkout.makePayment(stripeToken).subscribe((data: any) => {
        console.log(data);
        if (data.data === "success") {
          this.success = true
        }
        else {
          this.failure = true
        }
      });
    };

    paymentHandler.open({
      name: 'Edopedia.com Payment',
      description: 'Some sample description of product',
      amount: amount * 100,
    });
  }

  invokeStripe() {
    if (!window.document.getElementById('stripe-script')) {
      const script = window.document.createElement('script');
      script.id = 'stripe-script';
      script.type = 'text/javascript';
      script.src = 'https://checkout.stripe.com/checkout.js';
      script.onload = () => {
        this.paymentHandler = (<any>window).StripeCheckout.configure({
          key: '###yourkey###',
          locale: 'auto',
          token: function (stripeToken: any) {
            console.log(stripeToken);
          },
        });
      };

      window.document.body.appendChild(script);
    }
  }
}
Now we are ready to carry out the payment. So, lets make a new service using the below command which will actually make the POST request to the backend.
ng g s services/checkout
import { Injectable } from '@angular/core';
import { HttpClient } from '@angular/common/http';
import { Observable } from 'rxjs';

@Injectable({
  providedIn: 'root'
})
export class CheckoutService {

  constructor(private http: HttpClient) { }

  makePayment(stripeToken: any): Observable<any>{
    const url = "http://localhost:5000/checkout/"

    return this.http.post<any>(url,{token:stripeToken})
  }
}
Here we are making the POST request to the backend which does not exist yet. So, let’s create the backend for our Stripe Angular integration app using Node.js and Express.
First of all, make a new directory to hold our backend files. For the sake of this tutorial, I name it “server”.
mkdir server
cd server
Initialize the project.
npm init -y
Now we will install the required packages from npm.
npm i express
npm i cors
npm i stripe
Important Note:
###stripe_secret_key### with your actual Stripe secret key. You will get it from the Stripe dashboard.###your_email### with your real email.const express = require("express");
const bodyparser = require('body-parser')
const app = express();
app.use(bodyparser.urlencoded({ extended: false }))
app.use(bodyparser.json())
const stripe = require("stripe")("###stripe_secret_key###");
const cors = require('cors')
app.use(cors())
app.post('/checkout', async(req, res) => {
try {
console.log(req.body);
token = req.body.token
const customer = stripe.customers
.create({
email: "###your_email###",
source: token.id
})
.then((customer) => {
console.log(customer);
return stripe.charges.create({
amount: 1000,
description: "Test Purchase using express and Node",
currency: "USD",
customer: customer.id,
});
})
.then((charge) => {
console.log(charge);
res.json({
data:"success"
})
})
.catch((err) => {
res.json({
data: "failure",
});
});
return true;
} catch (error) {
return false;
}
})
app.listen(5000, () => {
console.log("App is listening on Port 5000")
})Here, you can use the following Stripe demo cards for testing.
| Number | Brand | CVC | Date |
| 4242424242424242 | Visa | Any 3 digits | Any future date |
| 5555555555554444 | Mastercard | Any 3 digits | Any future date |
MiniMax-M1 is a new open-weight large language model (456 B parameters, ~46 B active) built with hybrid…
Managing Git hooks manually can quickly become tedious and error-prone—especially in fast-moving JavaScript or Node.js…
Git hooks help teams enforce code quality by automating checks at key stages like commits…
Choosing the right Git hooks manager directly impacts code quality, developer experience, and CI/CD performance.…
We evaluated the performance of Llama 3.1 vs GPT-4 models on over 150 benchmark datasets…
The manufacturing industry is undergoing a significant transformation with the advent of Industrial IoT Solutions.…