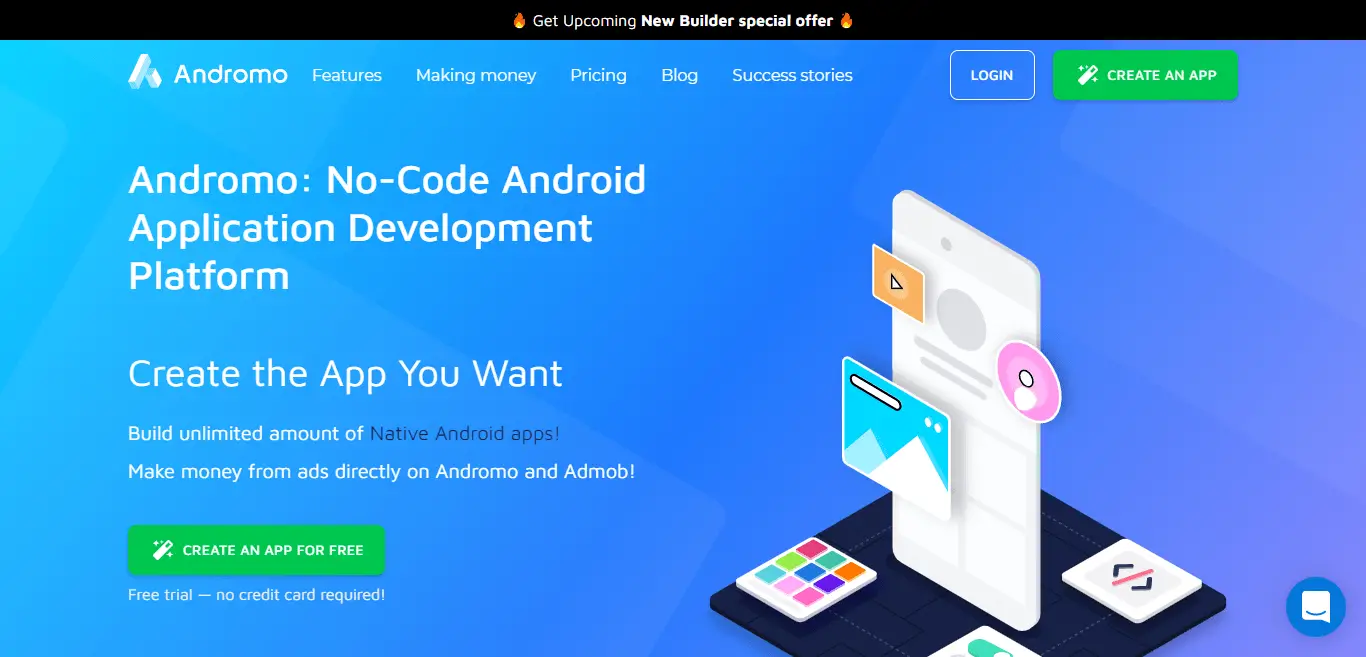
Andromo is the website that you can use to make Android App without coding. It is a free Android Creator to develop an app using the drag and drop method.
In this blog, I am going to explain to you how to create a mobile app without coding using Andromo.
On the completion of the app, you can run it on your mobile and you can also upload it on the Google store.
Let’s build a Pizza Recipe app and you can build it within 15 Minutes using Andromo. I am going to place Six Pizza Recipes in this app.
Creating a Recipe App
In this section, I am going to build a Pizza Recipe app and explain it to you step by step easily and more simply. You do not require any development experience before making this app.
You need to signup on to the Andromo website and click on the “CREATE AN APP” tab on the home screen. As a result following Screen appears on your laptop.
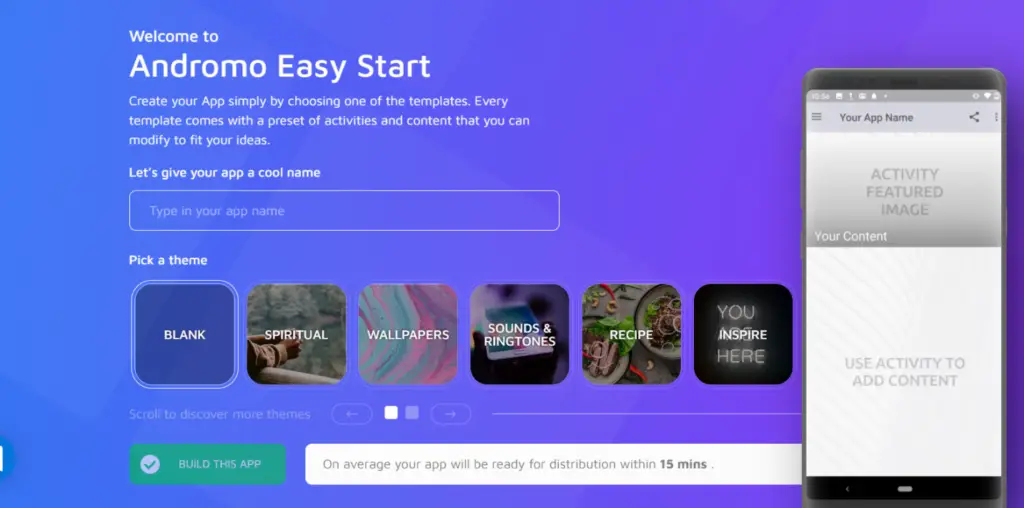
You need to type the name of your app and as you know that we are building a Recipe app so we need to select the Recipe theme.
Click on the “BUILD THIS APP” tab and the following app with a Built-in theme appears on your screen.
You have to make changes to the theme according to your requirement. Following are the tabs which you can use to edit your app.

You will use these tabs one by one according to your requirement and build a pizza recipe app.
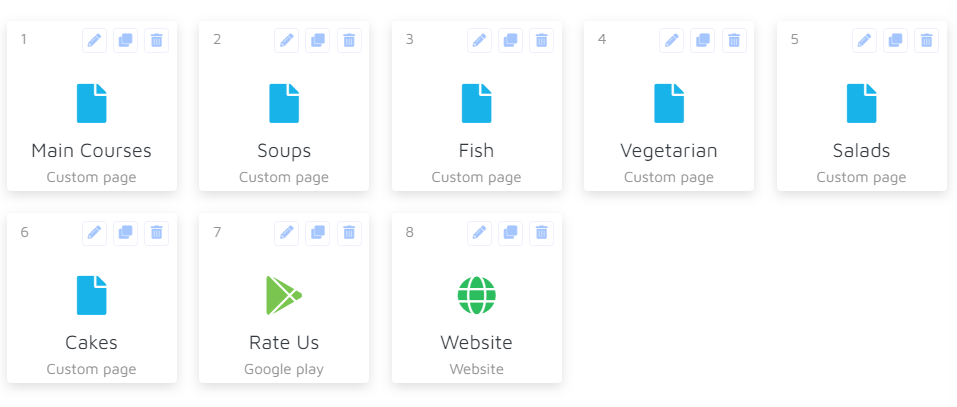
Activities
I start with the Activities tab and edit or replace Activities according to your need. Following are the Activities that are already available in the app.
Settings
Firstly, I am going to replace Main Courses with the pepperoni Pizza Recipe. For this, we need to click on the Main Courses tab and change the name in the settings tab.
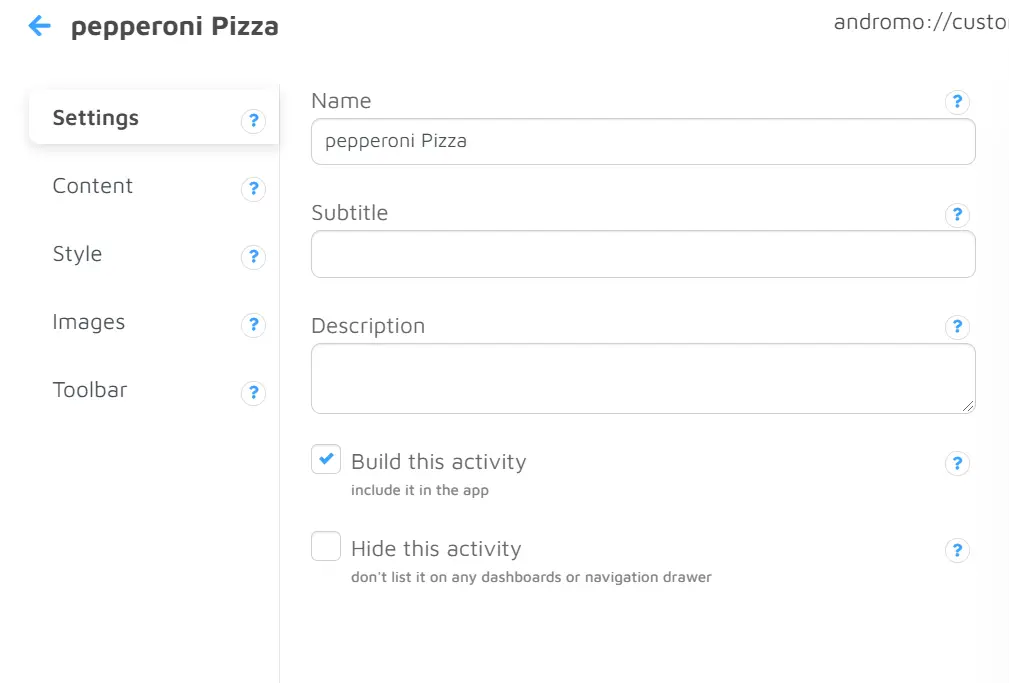
You can also give Subtitle and Description but it is not required in this app.
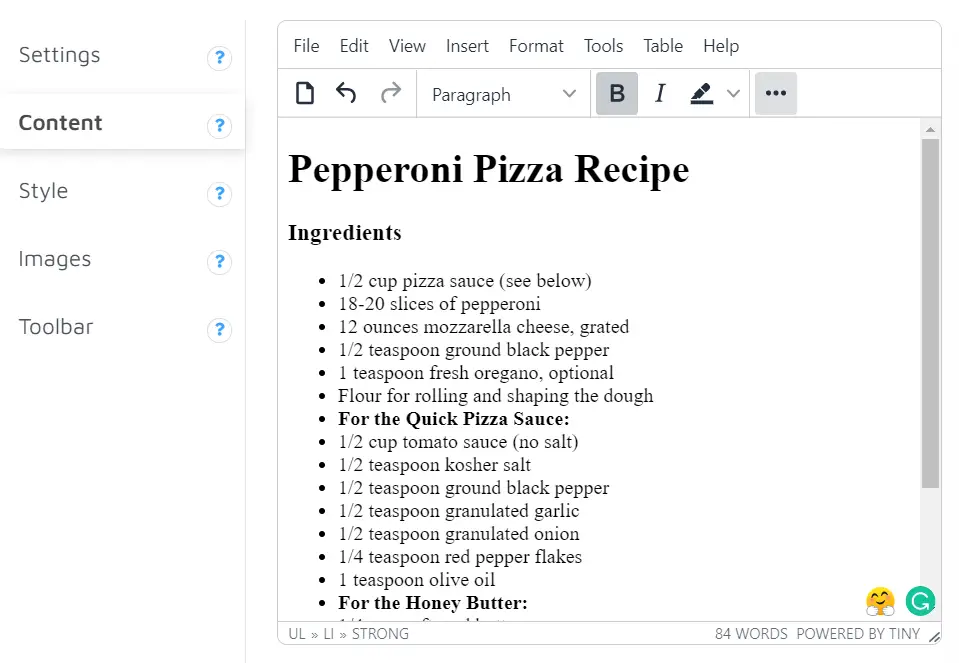
Content
you have to click on the content tab where you need to add the ingredients and Recipe.
Style
In the style tab, you can change the theme mode. You have the options of Global and Custom Mode. In custom mode, you can style and color according to your choice.
Images
You have to click on the Images tab where you can upload a pepperoni pizza image.
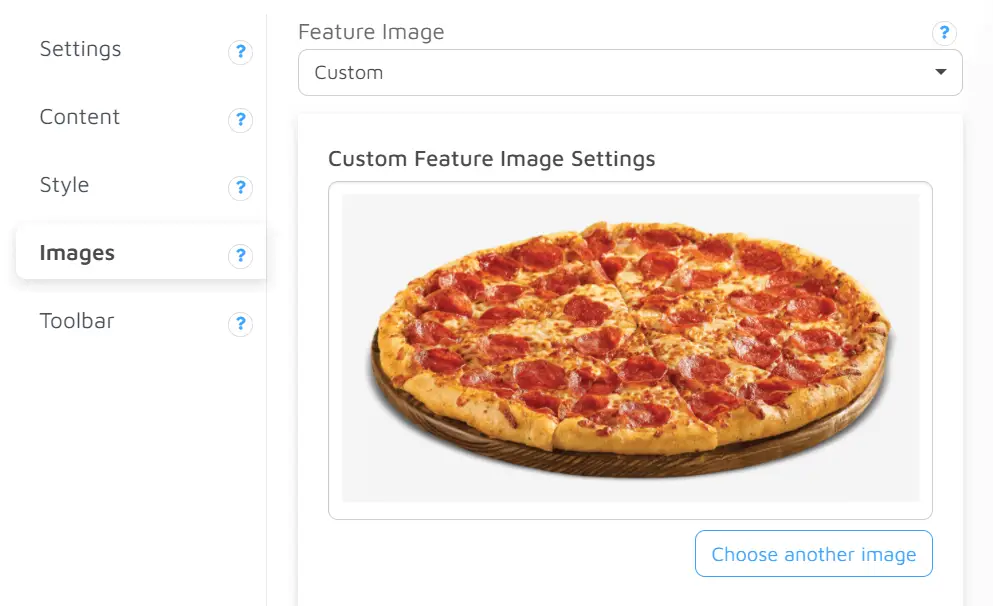
You need to upload images in both the Feature image and wide image section.
Toolbar
In the toolbar tab, you can change the Background, Text, and icon color of the theme but in this app, we don’t require any changes.
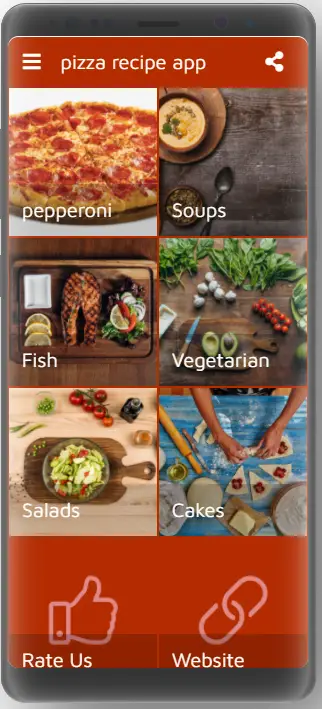
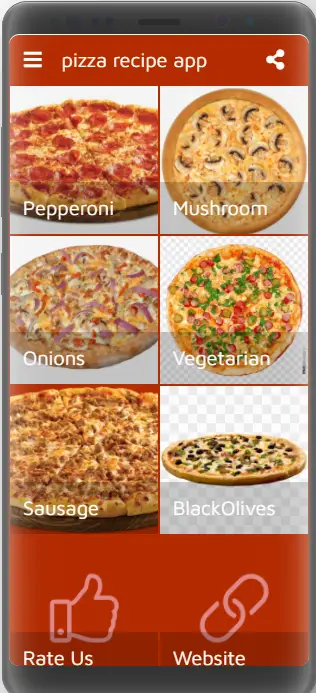
In the above app image, you can see that pepperoni pizza is placed in our app.
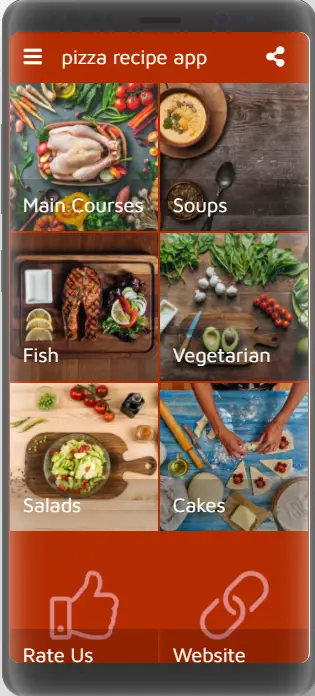
Now by using the same method you can upload all ingredients, recipes, and images of pizza in the app.
In the following image of the app, you can see that all the images and recipes are uploaded to the app.
you can use many other activities in the app that are available in the Activities section on the website.
The two activities that we are using in this app are Rate Us and the Website.
For Rate Us Activity you have to click on the Rate Us tab. After that, you need to click on the Content tab and the following screen appears.
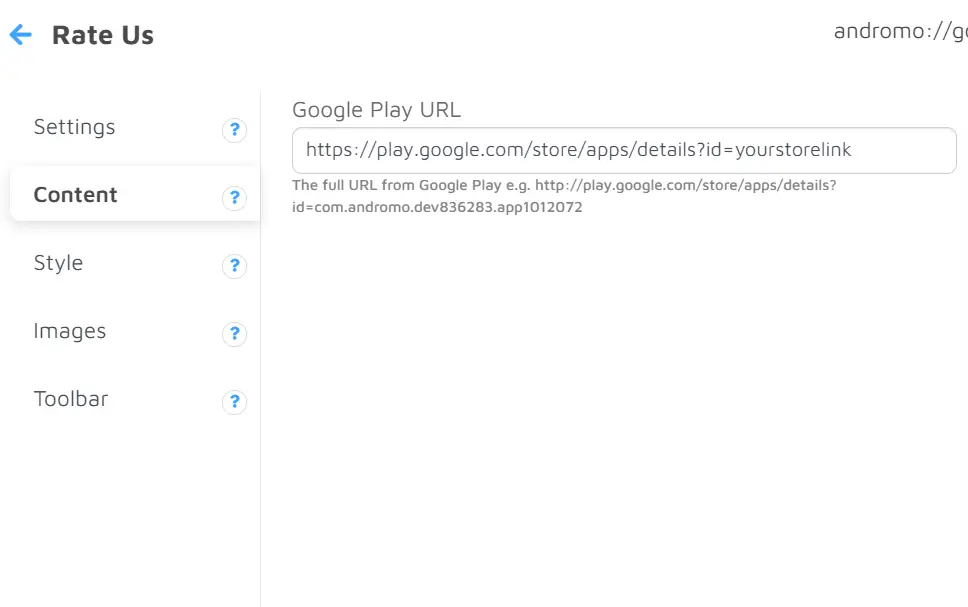
You need to put the following link of your app in the place of “yourstorelink” in the Google Play URL form which you can find on the top of your laptop screen.

Theme
Now you have to click on the Theme tab next to the Activities tab. When you click on the theme tab following screen appears.
Startup

In the Startup icon, you have to decide that do you want to show the dashboard at the start of the app or not.
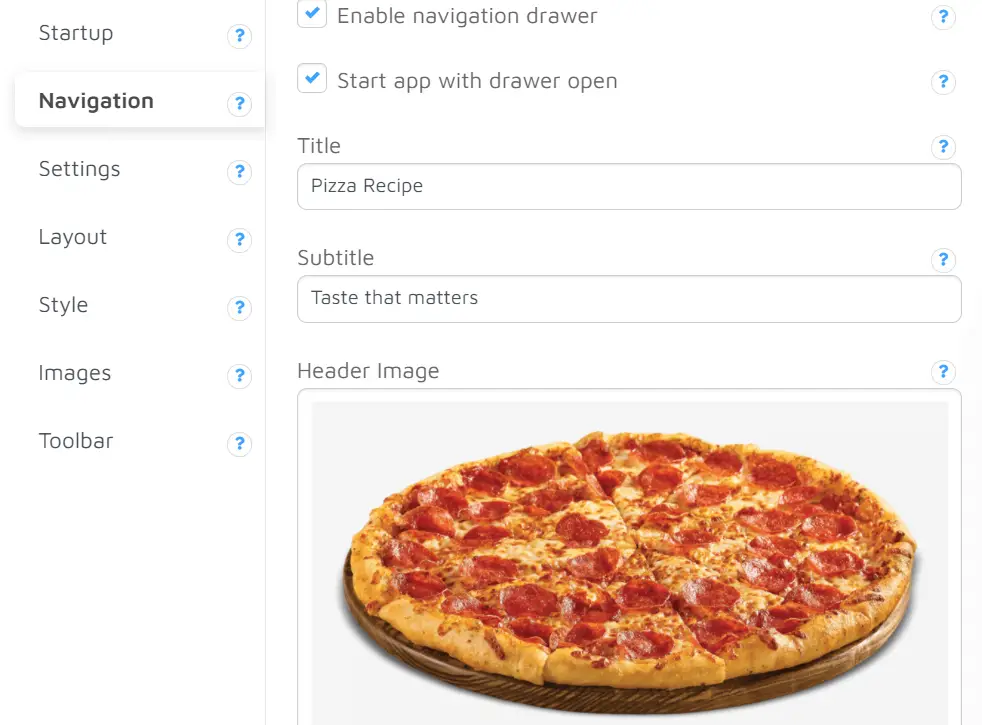
Navigation
When you click on the Navigation tab the below screen appears. You have to enter the Title, Subtitle, and Header Image which you can show on Navigation Drawer. You can also Enable or Disable the Drawer option.
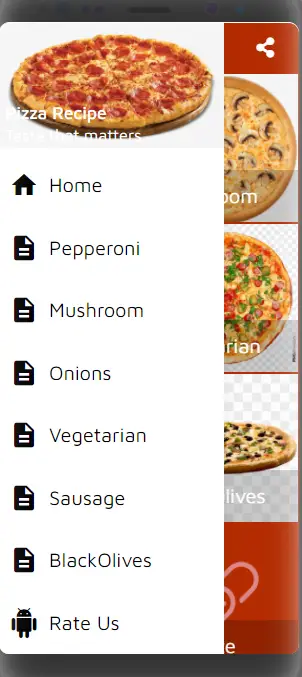
You can see in the below image Title, Subtitle, and Header image is uploaded on the Navigation drawer.
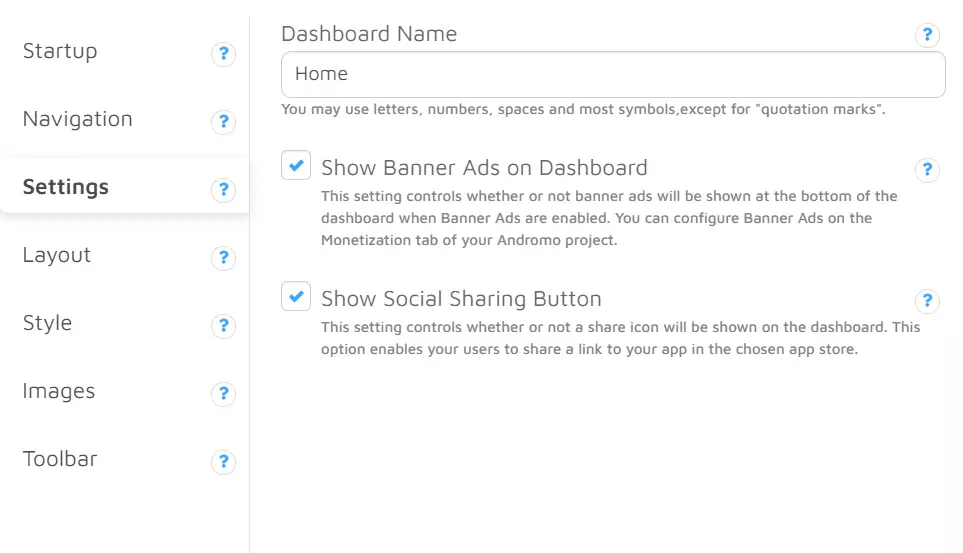
Settings
In the setting tab, you have to decide whether you want to show Banner ads and a social media sharing button on the Dashboard or not.
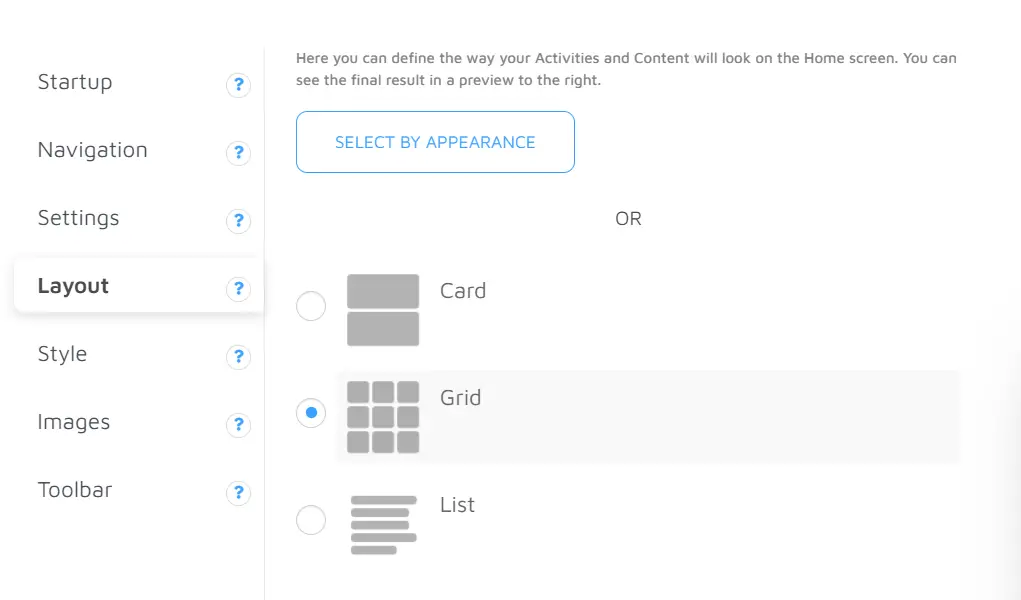
Layout
In the layout tab, you can select the layout currently we are working on a grid layout that is perfect for our app. so we do not want to change anything.
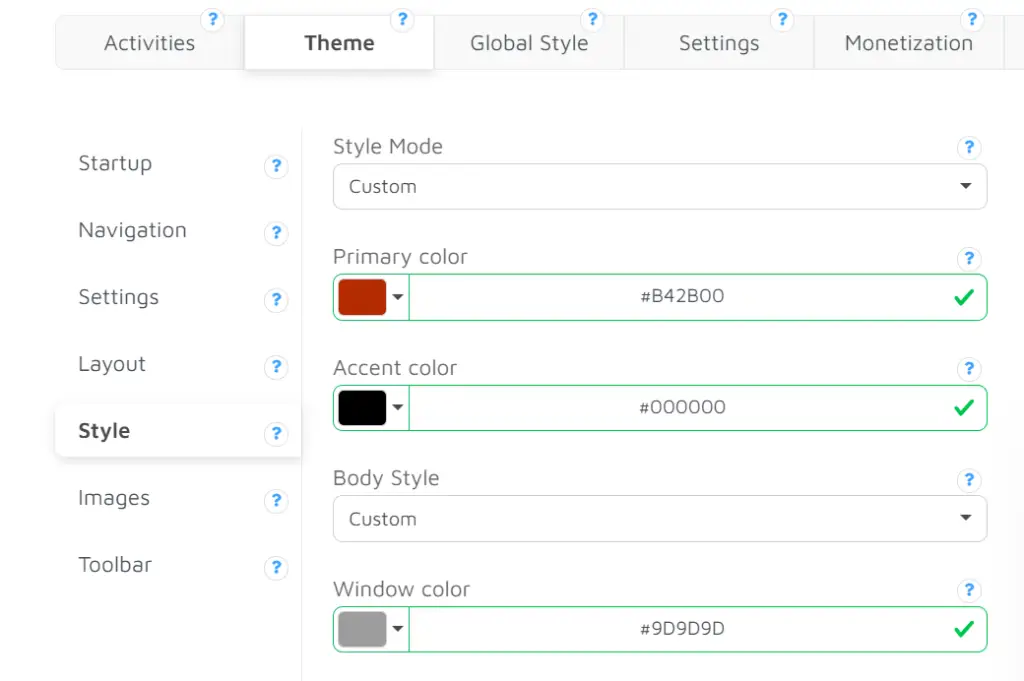
Style
In the style tab, you can change the text, background, and window color of the app according to your choice.
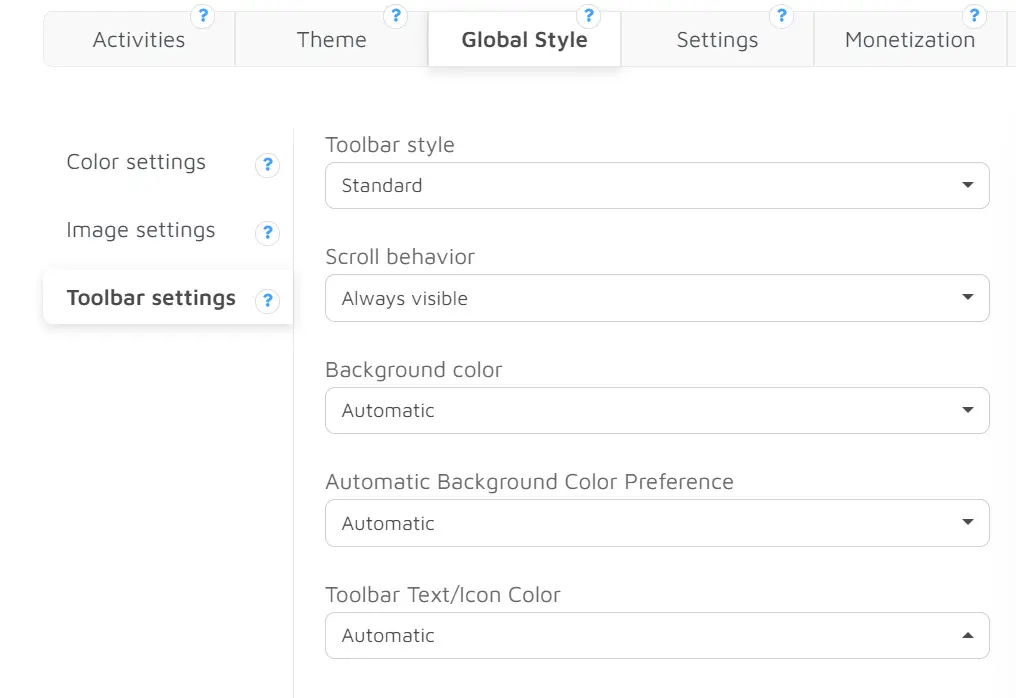
Global style
In the Global style tab, you can change the color and images of the app. In the Toolbar, you can work with the background, scroll behavior, and many other things.
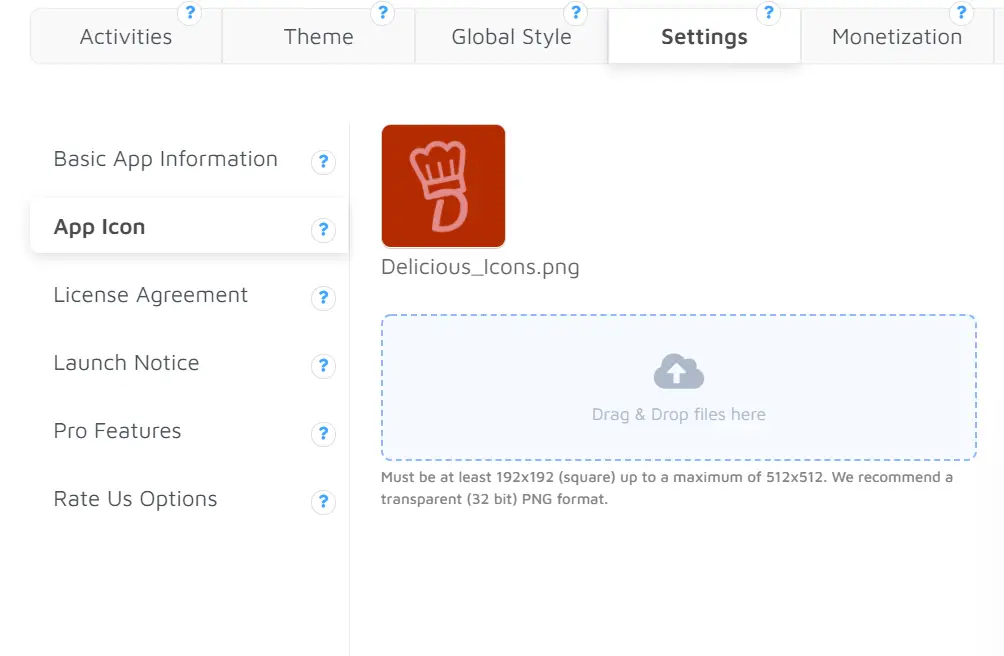
Settings
In the Settings, you have the App icon tab from where you can change the icon of the app. You can also change the basic app information of the app.
Monetization
You can Monetize your app on Andromo but for that, you have to Subscribe to the pro plan which is paid.
If you want to know how to Monetize your app you can click here. You can find complete information regarding Monetization from this Video.
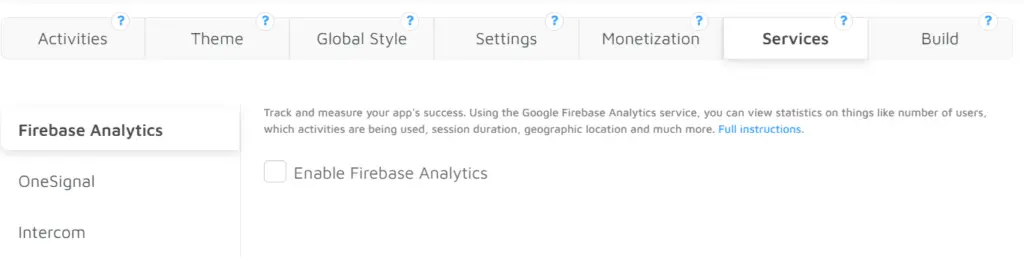
Services
In the Services tab, you can enable Firebase Analytics, OneSignal, and Intercom. By using Firebase Analytics you can view the number of users and other Statistics.
Build
Before going into the build tab you have to click on the Save Changes button. So that your all activities are saved.

You have to click on the “BUILD AN UNLIMITED APP” button and your app is created within 2 to 5 minutes.
After your App builds you can download it and you can run it on your mobile with the help of the apk file.
Conclusion
I have built a simple Recipe app using Andromo but you can build a more complex app using other Activities.
Activities and themes are the most important part of the Andromo. 90% of your app is build using these two tabs.
I recommend you, use this app to create an application for your business. I believe that it is the best app maker for android.
Remember your app will remain active for seven days. If you want to use it permanently and earn money then you have to buy the subscription of Andromo.